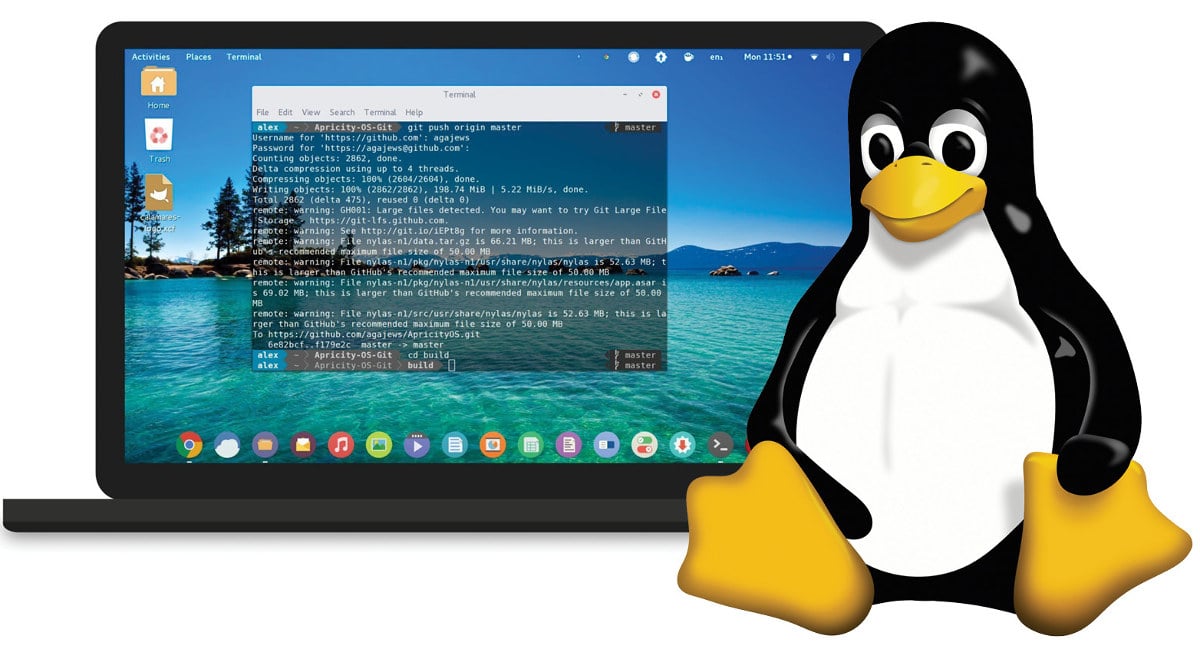
Setting up satellite CCCam on Linux can seem daunting at first especially for beginners. But with the right guidance and understanding you can transform your Linux machine into a powerful server for accessing satellite TV through CCCam.

What Is linux and Why Use Linux?
- Linux: Known for its stability security and open source nature Linux is ideal for running a CCCam server it offers the flexibility to configure and manage server operations effectively making it a popular choice among tech savvy users.
Prerequisites for Setting Up CCCam on Linux
To get started with setting up CCCam on Linux youll need a few things:
- A Linux Machine: A computer running any Linux distribution like Ubuntu Debian or CentOS.
- Satellite Dish and Receiver: A dish to receive satellite signals and a compatible receiver for decryption.
- CCCam Server Subscription: A subscription from a CCCam provider to connect your server to the network.
- Smart Card Reader (Optional): Required if you want to use a subscription card directly with your setup.
- Internet Connection: A stable internet connection to ensure uninterrupted card sharing.
Step 1: Preparing Your Linux Machine
Before installing CCCam ensure that your Linux system is up to date this will minimize compatibility issues during the installation process.
- Update Your System: Open the terminal and run the following commands to update your Linux machine:
sudo apt-get update
sudo apt-get upgrade
Install Essential Packages: For smooth operation install packages like wget, nano, and build-essential:
sudo apt-get install wget nano build-essential
2: Downloading and Installing CCCam
Now that your Linux machine is ready the next step is to download and install the CCCam software.
- Find a Reliable Source: CCCam binaries are not always directly available due to the nature of card sharing you may need to find a trustworthy source or forum where the CCCam package for Linux is shared.
- Download the CCCam Package: Once you have the link to the CCCam binary use
wgetto download it:
wget http://example.com/cccam-linux.tar.gz
- Replace
http://example.com/cccam-linux.tar.gzwith the actual download link. - Extract the Package:
tar -xzvf cccam-linux.tar.gz
Move the Binary to a System Path:
sudo mv cccam /usr/local/bin/
sudo chmod +x /usr/local/bin/cccam
- This makes the CCCam binary executable and accessible from anywhere on the system.
3: Configuring CCCam
After installing CCCam you need to set up the configuration files for it to connect to the card sharing server the configuration is typically done using the CCCam.cfg file.
- Create the Configuration File: Navigate to the
etcdirectory and create theCCCam.cfgfile:
sudo nano /etc/CCCam.cfg
Add Server Details: Inside the CCCam.cfg file, you’ll need to add the server information provided by your CCCam subscription:
C: yourserver.com 12000 username password
-
- Replace
yourserver.comwith your CCCam servers address. 12000is the port number (adjust if your server uses a different port).usernameandpasswordare the credentials provided by your CCCam provider.
- Replace
- Save and Exit: Press
Ctrl + Oto save the file andCtrl + Xto exit the Nano editor.
4: Starting the CCCam Service
Now that the configuration is set up its time to start the CCCam service and connect to your server.
- Run CCCam: Use the following command to start CCCam:
sudo /usr/local/bin/cccam -C /etc/CCCam.cfg
- This command tells CCCam to run using the configuration file youve set up.
- Check the Logs: To ensure everything is running smoothly check the CCCam logs:
tail -f /var/log/cccam.log
- This will show you real time logs including whether CCCam has successfully connected to the server.
5: Automating CCCam Startup
To ensure CCCam starts automatically when your Linux machine boots up you can create a simple script and add it to your systems startup process.
- Create a Startup Script:
sudo nano /etc/init.d/cccamstart
Add the Following Script:
#!/bin/bash
/usr/local/bin/cccam -C /etc/CCCam.cfg
Make the Script Executable:
sudo chmod +x /etc/init.d/cccamstart
Add to Startup:
sudo update-rc.d cccamstart defaults
- This will ensure CCCam starts automatically every time your Linux system boots up.
6: Troubleshooting Common Issues
Even with the best setup you might encounter issues when running CCCam here are some common problems and how to resolve them:
Issue 1: CCCam Not Connecting to the Server
- Solution: Double check the server details in
CCCam.cfgfor any typos ensure your internet connection is stable.
2: Video Freezing or Buffering
- Solution: This is often due to slow internet speed or server congestion try switching to a different server provided by your CCCam subscription.
3: CCCam Crashes on Start
- Solution: Check the system logs for error messages using:
dmesg | grep cccam
- Reinstalling CCCam or updating your Linux system might resolve compatibility issues.
7: Enhancing Your CCCam Setup with a Smart Card Reader
If you have your own subscription card using a smart card reader can enhance your CCCam setup by allowing you to create your own local server.
- Connect the Smart Card Reader: Plug your USB smart card reader into your Linux machine.
- Install Card Reader Drivers:
sudo apt-get install pcscd pcsc-tools
- This installs the necessary drivers for most smart card readers.
- Configure the Card Reader with CCCam: Modify the
CCCam.cfgfile to include your card readers settings. For example:
SMARTCARD READER : /dev/pcsc0
Restart CCCam: Restart the CCCam service to apply the changes.
Conclusion
Setting up CCCam on a Linux machine might seem complex initially but with the right steps it becomes a manageable process by following this guide youve learned how to install and configure CCCam on Linux ensuring a seamless connection to your satellite TV channels from the initial setup to troubleshooting common issues youre now equipped to run CCCam effectively on your Linux system enjoy the world of satellite TV with the power and flexibility that CCCam and Linux bring to your home entertainment setup! Happy streaming!
